


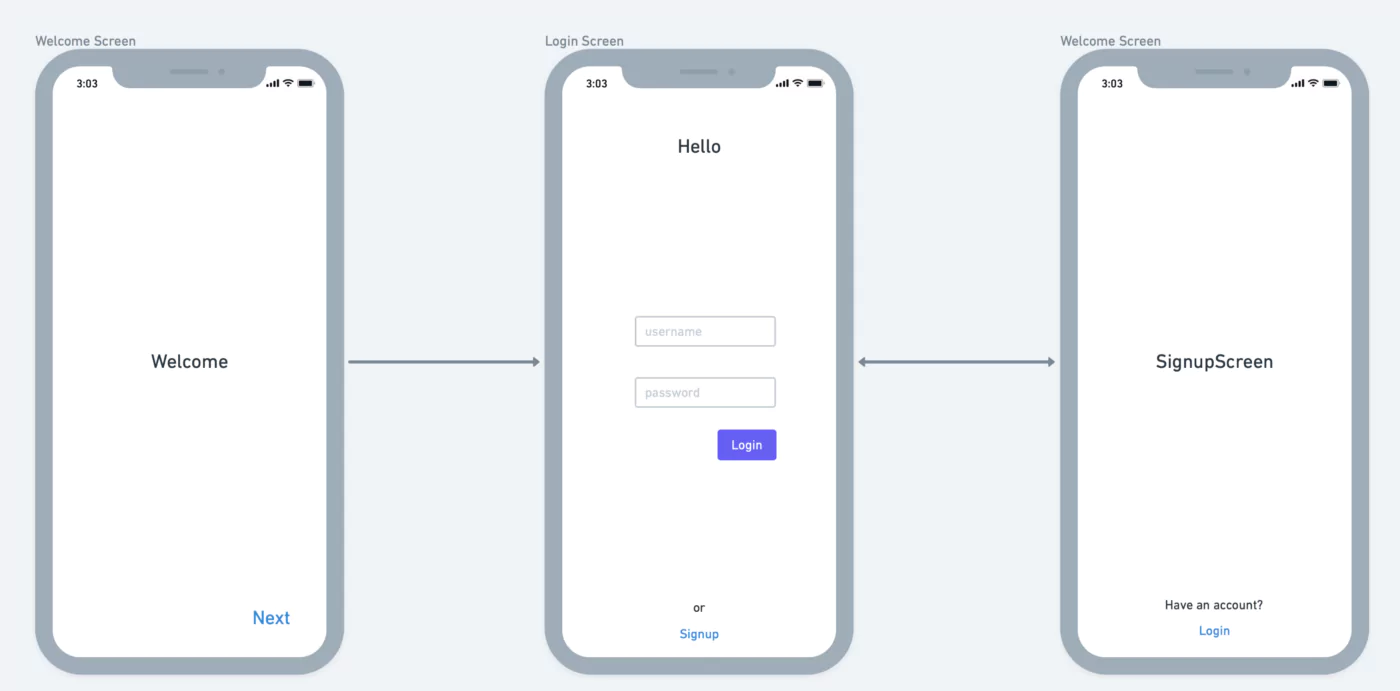
Navigation is an essential part of any mobile application. It allows users to navigate between different screens, view different data, and perform actions like parameter passing and updating the screen data according to screen type and many different actions. And it also helps us to understand the overall flow of the app. In order to build a reliable navigation, you can reach out to a react native development company in Bangalore who specialize in delivering successful mobile applications.
React Native provides a built-in navigation system called React Navigation. React Navigation is a powerful and flexible library that allows you to easily implement navigation in your application. It provides a number of different navigation options such as stack navigation, tab navigation, and drawer navigation. These native modules help us to develop a more interactive UI, such as adding icons, screen titles, and images, and also achieve nested navigation. Since there is only a single navigation container, all the screens are kept as a stack.
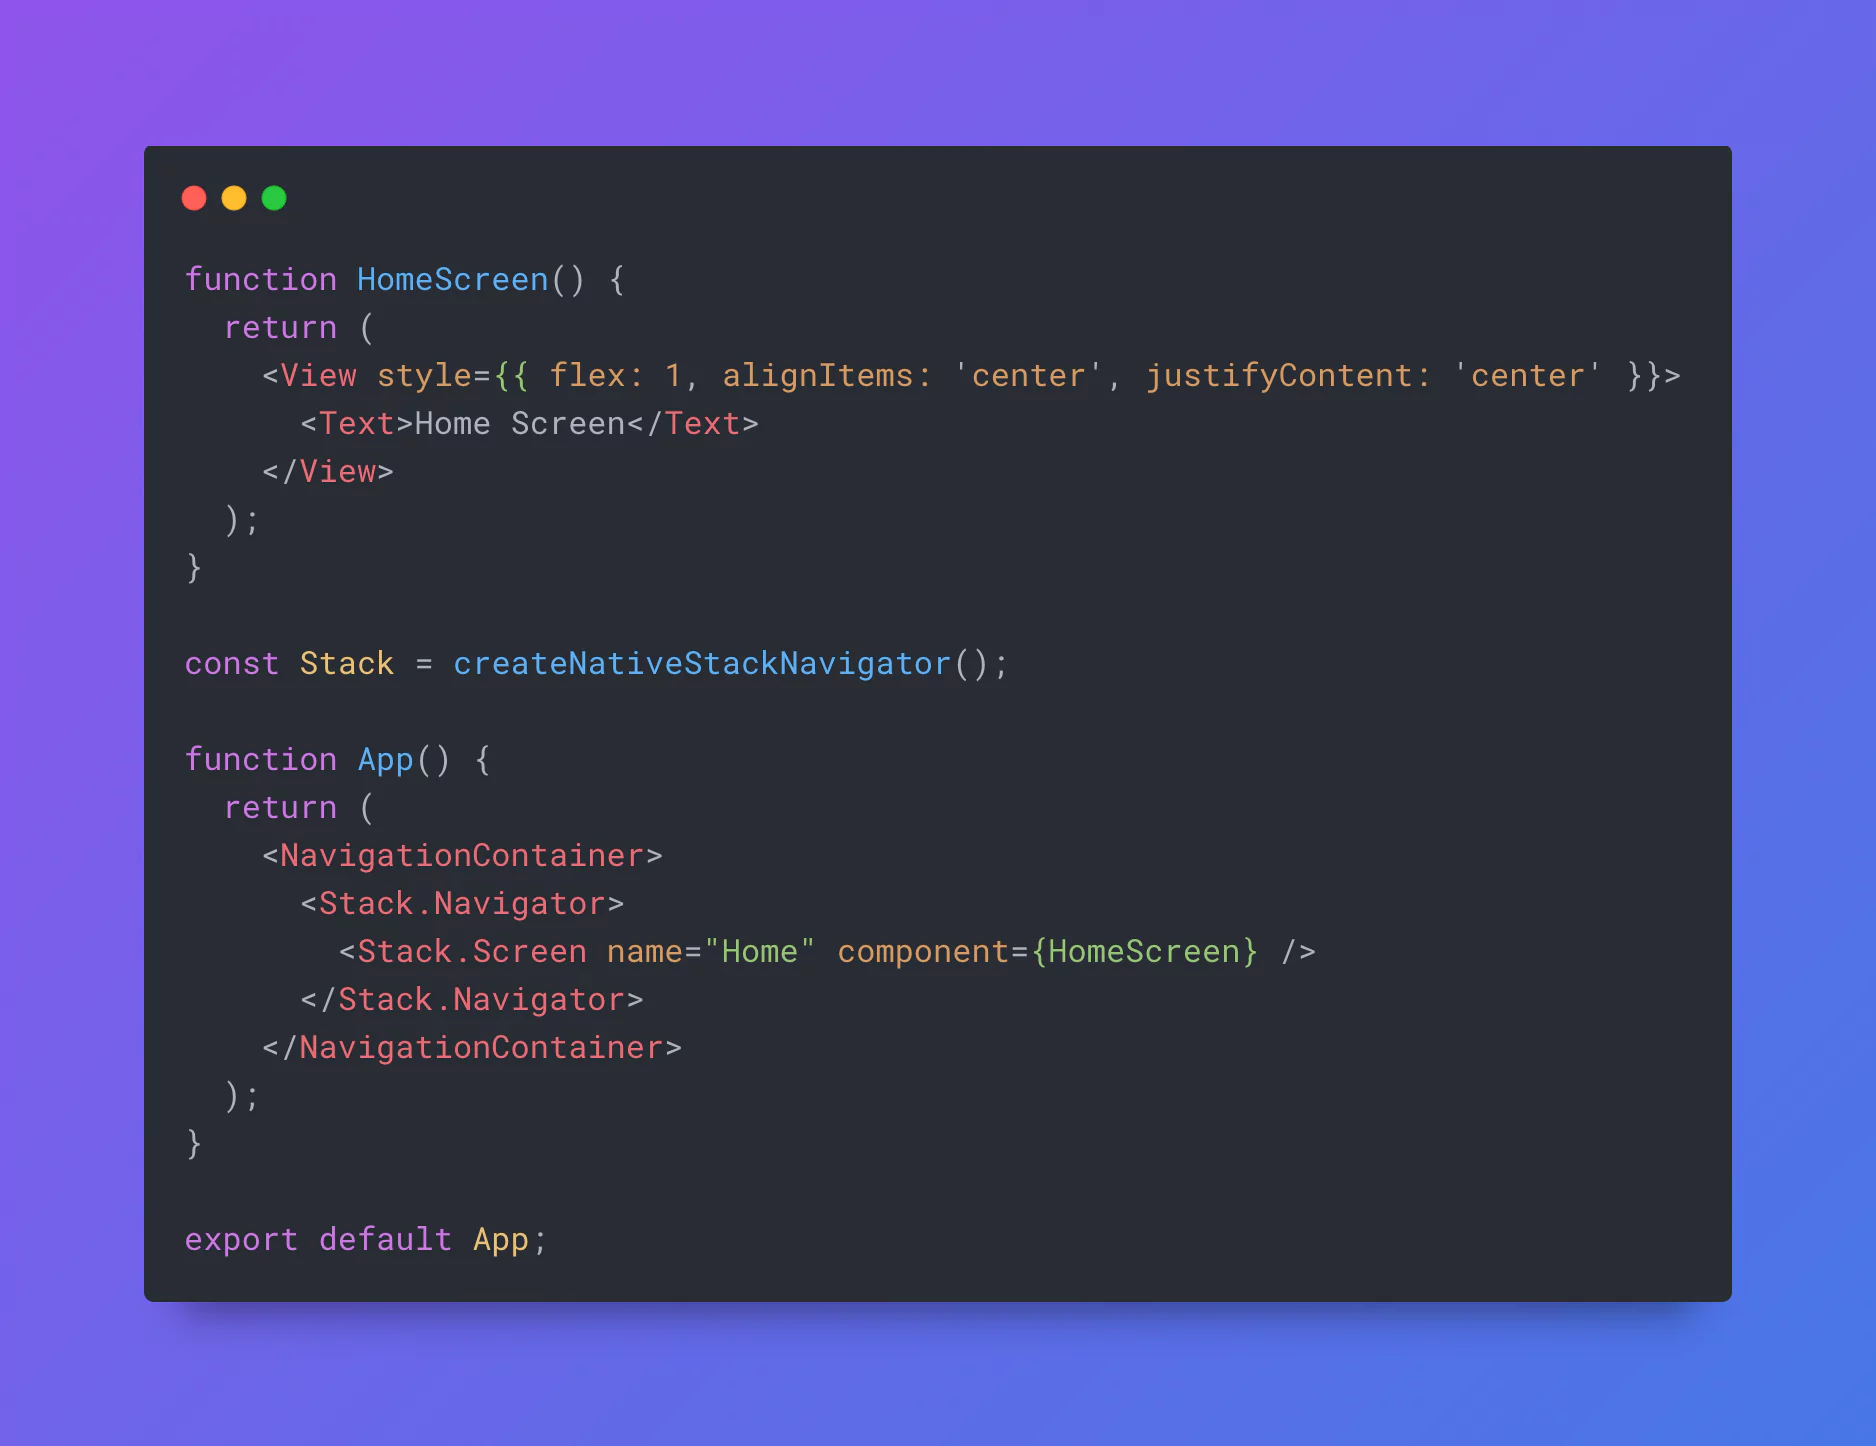
Firstly, we need to create a navigation container in which all the navigation can be performed @react-navigation/native
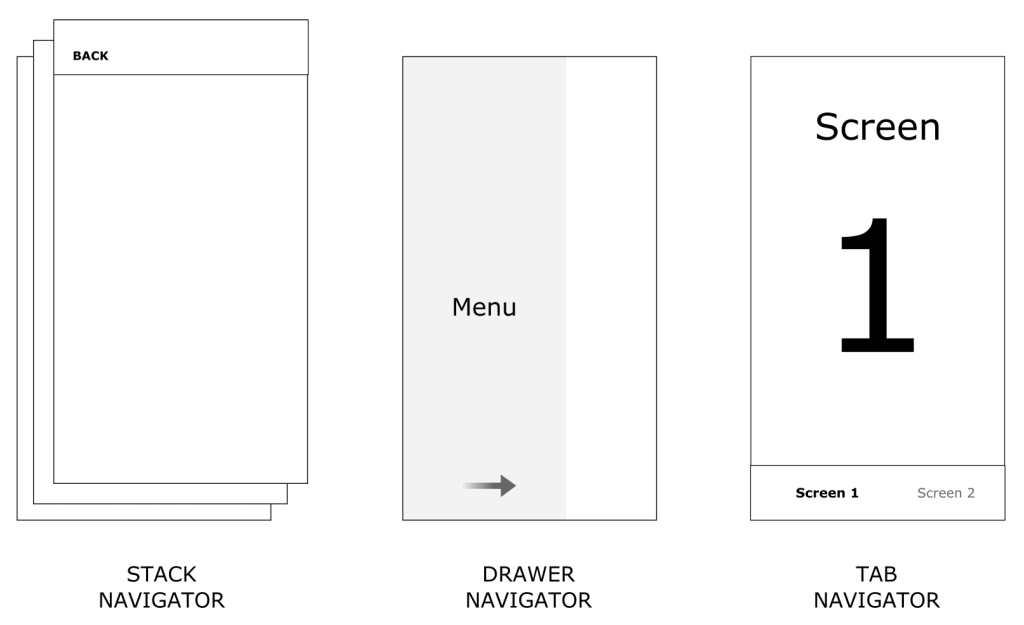
Stack Navigation
The most common navigation pattern in mobile applications is stack navigation. Stack navigation allows you to push new screens onto a stack and pop them off the stack as the user navigates through the app. This creates a "back" button that allows the user to go back to the previous screen. To implement stack navigation in React Native, you can use the createStackNavigator function from the React Navigation library and the first route of the stack is always the default screen.
Below are the npm packages that are used to achieve Stack Navigation.
@react-navigation/native-stack
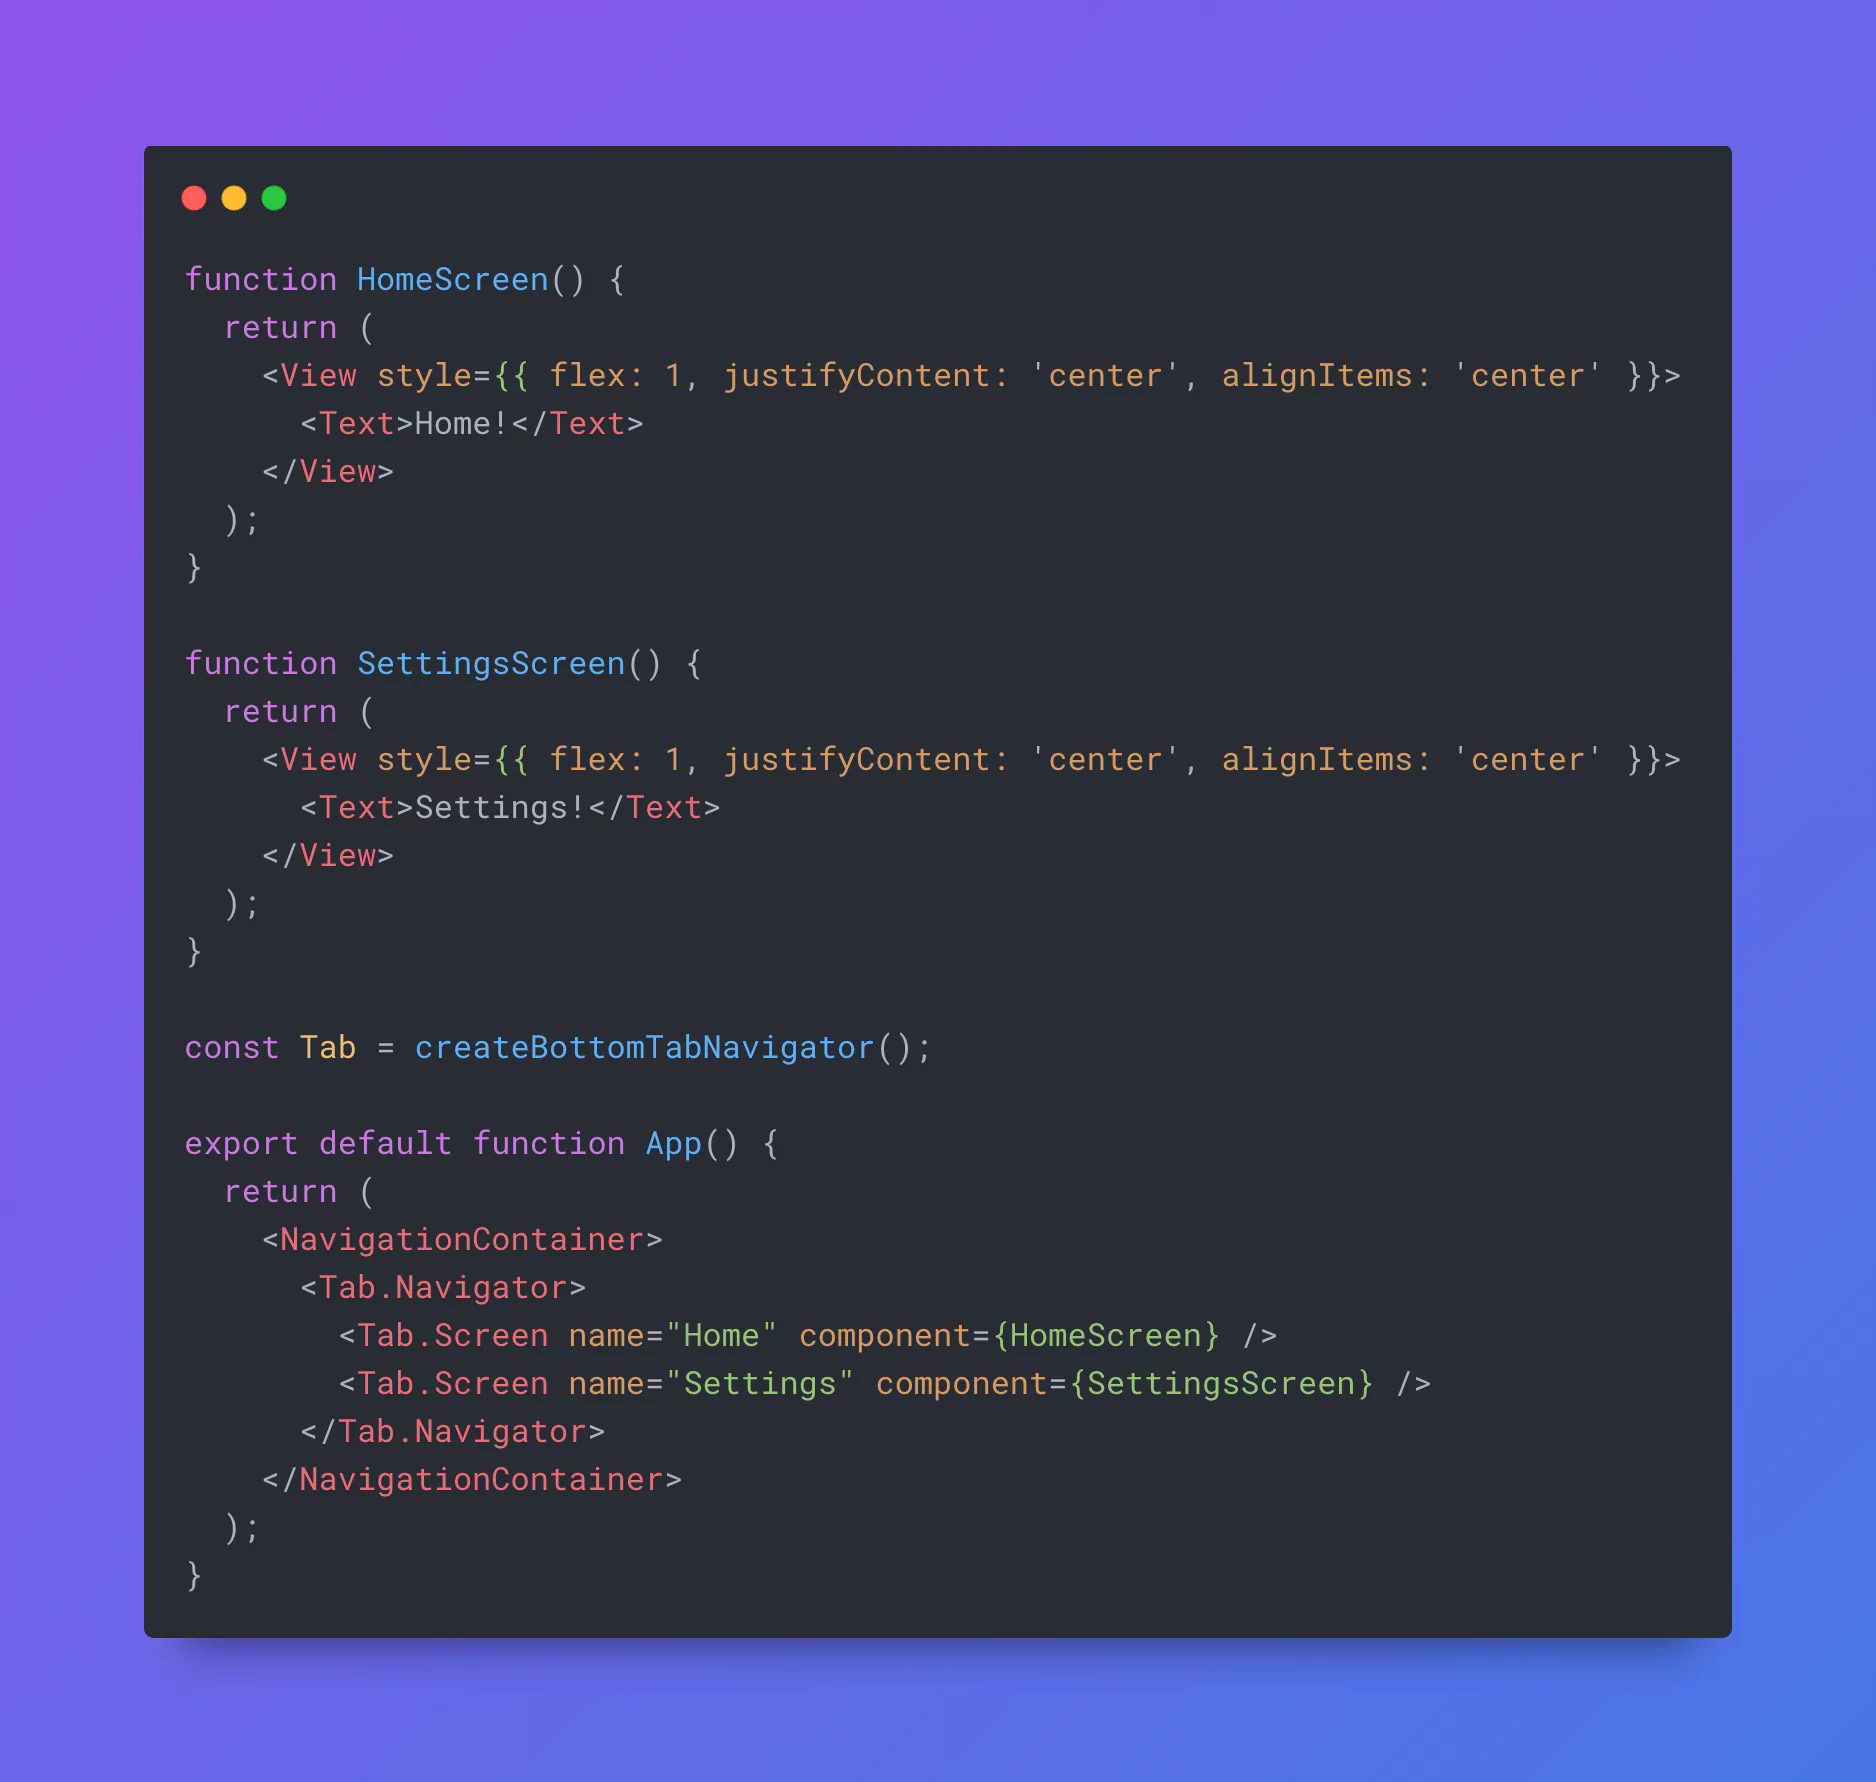
Tab Navigation
Another popular navigation pattern is tab navigation. Tab navigation allows you to create a bottom tab bar that allows the user to switch between different screens in the app. To implement tab navigation in React Native, you can use the createBottomTabNavigator function from the React Navigation library.
Below are the npm packages that are used to achieve Tab Navigation.
@react-navigation/bottom-tabs
Drawer Navigation
Drawer navigation is a navigation pattern that allows the user to access different sections of the app by sliding a drawer open from the side of the screen. To implement drawer navigation in React Native, you can use the createDrawerNavigator function from the React Navigation library.
Below are the npm packages that are used to achieve Drawer Navigation.
@react-navigation/drawer

Custom Navigation
React Navigation provides a lot of flexibility in terms of customization. You can customize the appearance and behavior of the navigation bar and the navigation elements. For example, you can change the color of the navigation bar, add a custom header, add a custom back button, add icons, add images, or add active tab animation. If you’re looking to build a top-notch app, you can reach out to Appiness, a react native app development company where we create high-performance and user-friendly mobile applications for diverse industries using the latest technologies.